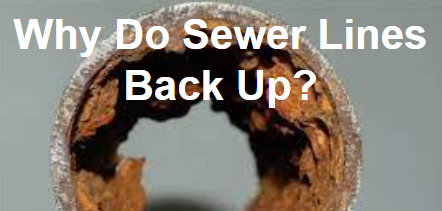

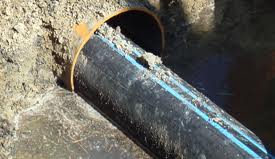
Repairing cast iron sewer pipes – 3 types of sewer drain repair explained
- Pipe Bursting
- Slip Lining
- Pipe Lining (BEST)
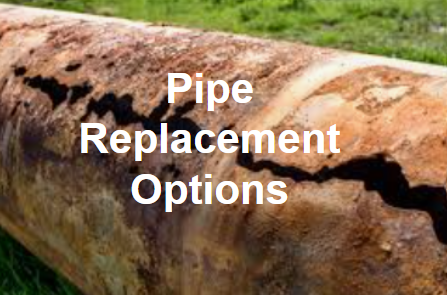
There are multiple options for slip-lining cast iron sewer pipes to prevent excavation under a home or building in order to replace the sewer drains. This article explains what kind of cast iron replacement and restoration methods are available for sewer pipe repair. It also explains the comparative cost vs excavation. First, let’s discuss the oldest technology for sewer pipe replacement. The oldest type of technology is pipe bursting.
Must Watch! The 2 Common Technologies Used As Of 2020
A. Pipe Bursting Cast Iron Sewer Pipes (outdated method!)

Old Fashioned Cast Iron Pipe Bursting Trenchless Repair
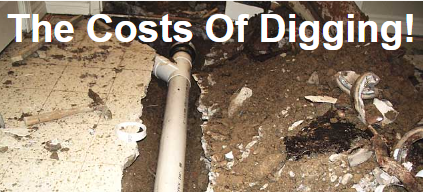
Pipe bursting involves digging a deep hole at the end of the pipe in order to pull a very strong cable through the pipe. Then a bursting head, which is a conical metal head, is attached to the cable and at the flat side of the head a new HDPE pipe is attached, and then the head is pulled through the pipe using a very strong winch. As the bursting travels through the pipe it breaks apart the old pipe and pushes it aside and the new pipe goes into its position. The advantage is that the old pipe diameter is preserved or can be increased. The disadvantage is any pipe connections from incoming pipes will be destroyed and excavation will have to be done to replace those connections. The cost of excavation at every pipe joint, followed by floor surface and kitchen cabinet and bathroom remodeling, make this the most expensive method! Now let’s discuss the next technology. slip lining.
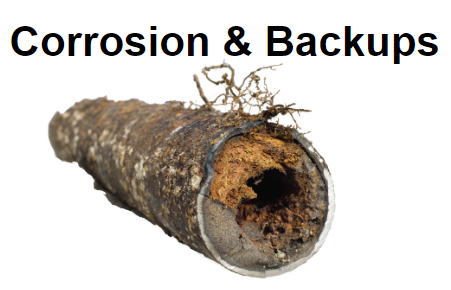
B. Slip Lining Cast Iron Sewer Pipes (outdated method!)
Slip Lining Cast Iron Sewer Pipe Reduces the Diameter
With slip lining a new pipe is pulled into the old pipe but the old pipe remains. This will reduce pipe diameter and will also cover up connections that would have to be cut open later. Usually, with slip lining, there is a space between the old and the new pipe which is called interstitial space. The ends of the pipes are sealed by self-hardening epoxy which is injected into the interstitial space to prevent leakage out of the new pipe. This process is not used very much anymore. The most modern technologies are “epoxy pipe lining” and “cured-in-place pipe lining”.
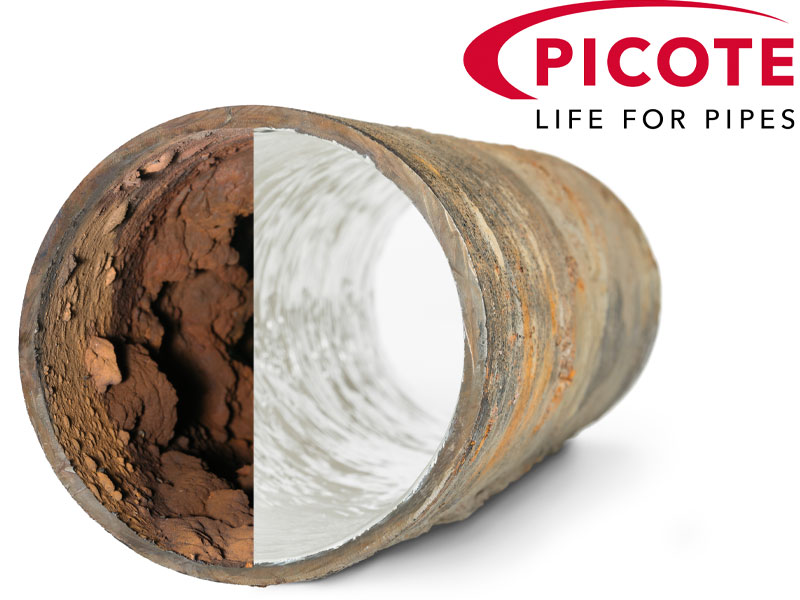
C. Cast Iron Epoxy Pipe Lining (Best Current Method!)
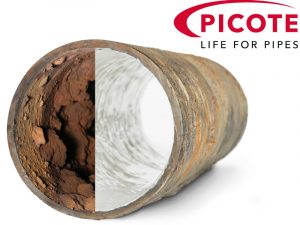
1. Remove The Rust and Scale From The Pipe Wall
First, the old scale and rust have to be removed using patented tools designed to remove rock-hard scale and rust, without breaking up the old remaining pipe.
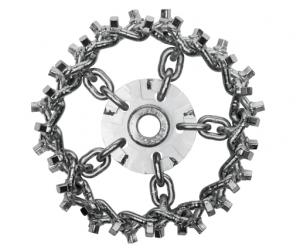 This carbide chain has very sharp edges and it fits on a special cable that rotates at 600 RMP inside the pipe. The chains come in specific sizes that can only expand to the width of the internal diameter of the pipe being cleaned, which prevents any excessive outward pressure on the pipe wall.
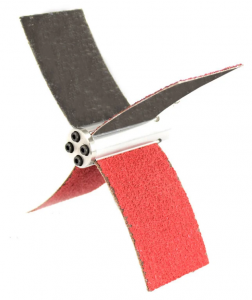 Next, this tool is attached to the rotating cable. It has 4 “sandpaper flaps” that sand down the remaining pipe to make it smooth.
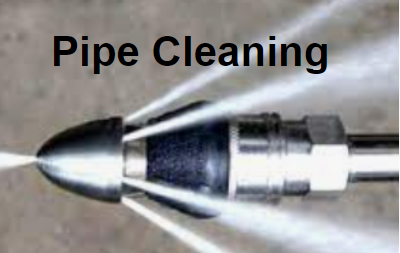
2. Wash The Debris Out Of The Pipe
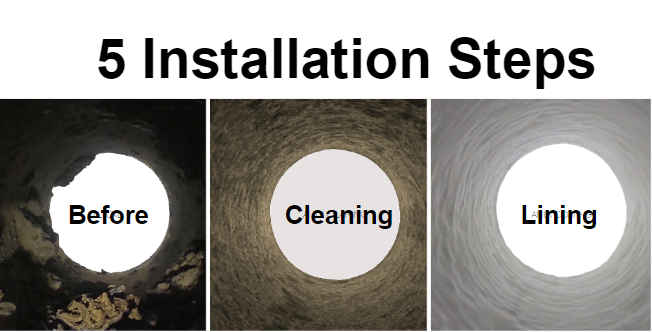
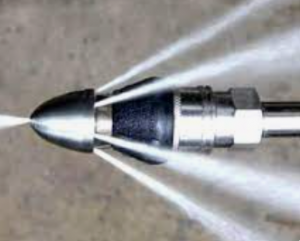 Next, a high-pressure water “jetter” is inserted into the pipe which washes out all the debris. At the end of the cleaning process, all roots, rust, and scale have been removed, and cracks and holes are clearly visible in the next step.
3. Video Inspect The Pipe For Measurements
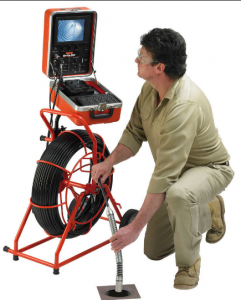 Next, a video camera is run through the pipe to see how long the pipe is and whether it has been cleaned sufficiently. The cleaning process might have to be repeated. Also, if there are very large holes and voids at the bottom of the pipe, they will be filled with epoxy under camera supervision, prior to pipe lining.
4. Pipe Lining Installation
- Use high-pressure air flow to dry the pipes
- Prepare the epoxy mixer, pump, hoses, and delivery nozzle
- Push the delivery nozzle and video inspection camera to the furthest end of the pipe
- Turn on the mixer and pump, and start rotating the nozzle
- Pull back the camera and delivery nozzle slowly under camera supervision to ensure that a uniform layer of epoxy is applied to the inside of the pipe
- Allow the epoxy to harden (1hr-4hrs), and install a second layer of epoxy pipe lining if required